Create a serverless, globally distributed REST API with Fauna
In this tutorial, you learn how to store and retrieve data in your Cloudflare Workers applications by building a REST API that manages an inventory catalog using Fauna ↗ as its data layer.
- How to store and retrieve data from Fauna in Workers.
- How to use Wrangler to store secrets securely.
- How to use Hono ↗ as a web framework for your Workers.
Building with Fauna, Workers, and Hono enables you to create a globally distributed, strongly consistent, fully serverless REST API in a single repository.
Fauna is a document-based database with a flexible schema. This allows you to define the structure of your data – whatever it may be – and store documents that adhere to that structure. In this tutorial, you will build a product inventory, where each product document must contain the following properties:
- title - A human-friendly string that represents the title or name of a product.
- serialNumber - A machine-friendly string that uniquely identifies the product.
- weightLbs - A floating point number that represents the weight in pounds of the product.
- quantity - A non-negative integer that represents how many items of a particular product there are in the inventory.
Documents are stored in a collection ↗. Collections in document databases are groups of related documents.
For this tutorial, all API endpoints are public. However, Fauna also offers multiple avenues for securing endpoints and collections. Refer to Choosing an authentication strategy with Fauna ↗ for more information on authenticating users to your applications with Fauna.
All of the tutorials assume you have already completed the Get started guide, which gets you set up with a Cloudflare Workers account, C3 ↗, and Wrangler.
To create a database, log in to the Fauna Dashboard ↗ and click Create Database. When prompted, select your preferred Fauna region group ↗ and other database settings.
Create a Products collection for the database with the following query. To run the query in the Fauna Dashboard, select your database and click the Shell tab:
Collection.create({ name: "Products" });The query outputs a result similar to the following:
{ name: "Products", coll: Collection, ts: Time("2099-08-28T15:03:53.773Z"), history_days: 0, indexes: {}, constraints: []}In production, the Worker will use the Cloudflare Fauna integration to automatically connect to Fauna. The integration creates any credentials needed for authentication with Fauna.
For local development, you must manually create a Fauna authentication key ↗ and pass the key’s secret to your Worker as a development secret.
To create a Fauna authentication key:
-
In the upper left pane of Fauna Dashboard’s Explorer page, select your database, and click the Keys tab.
-
Click Create Key.
-
Choose a Role of Server.
-
Click Save.
-
Copy the Key Secret. The secret is scoped to the database.
Create a new project by using C3 ↗.
npm create cloudflare@latest -- fauna-workersyarn create cloudflare@latest fauna-workerspnpm create cloudflare@latest fauna-workersTo continue with this guide:
- For What would you like to start with?, select
Framework Starter. - For Which development framework do you want to use?, select
Hono. - For, Do you want to deploy your application?, select
No.
Then, move into your newly created directory:
cd fauna-workersUpdate the wrangler.toml file to set the name for the Worker.
name = "fauna-workers"For local development, add a .dev.vars file on the project root and add your Fauna key’s secret as a development secret:
DATABASE_KEY=<FAUNA_SECRET>Deploy your Worker to Cloudflare to ensure that everything is set up correctly:
npm run deploy-
Login to your Cloudflare dashboard ↗.
-
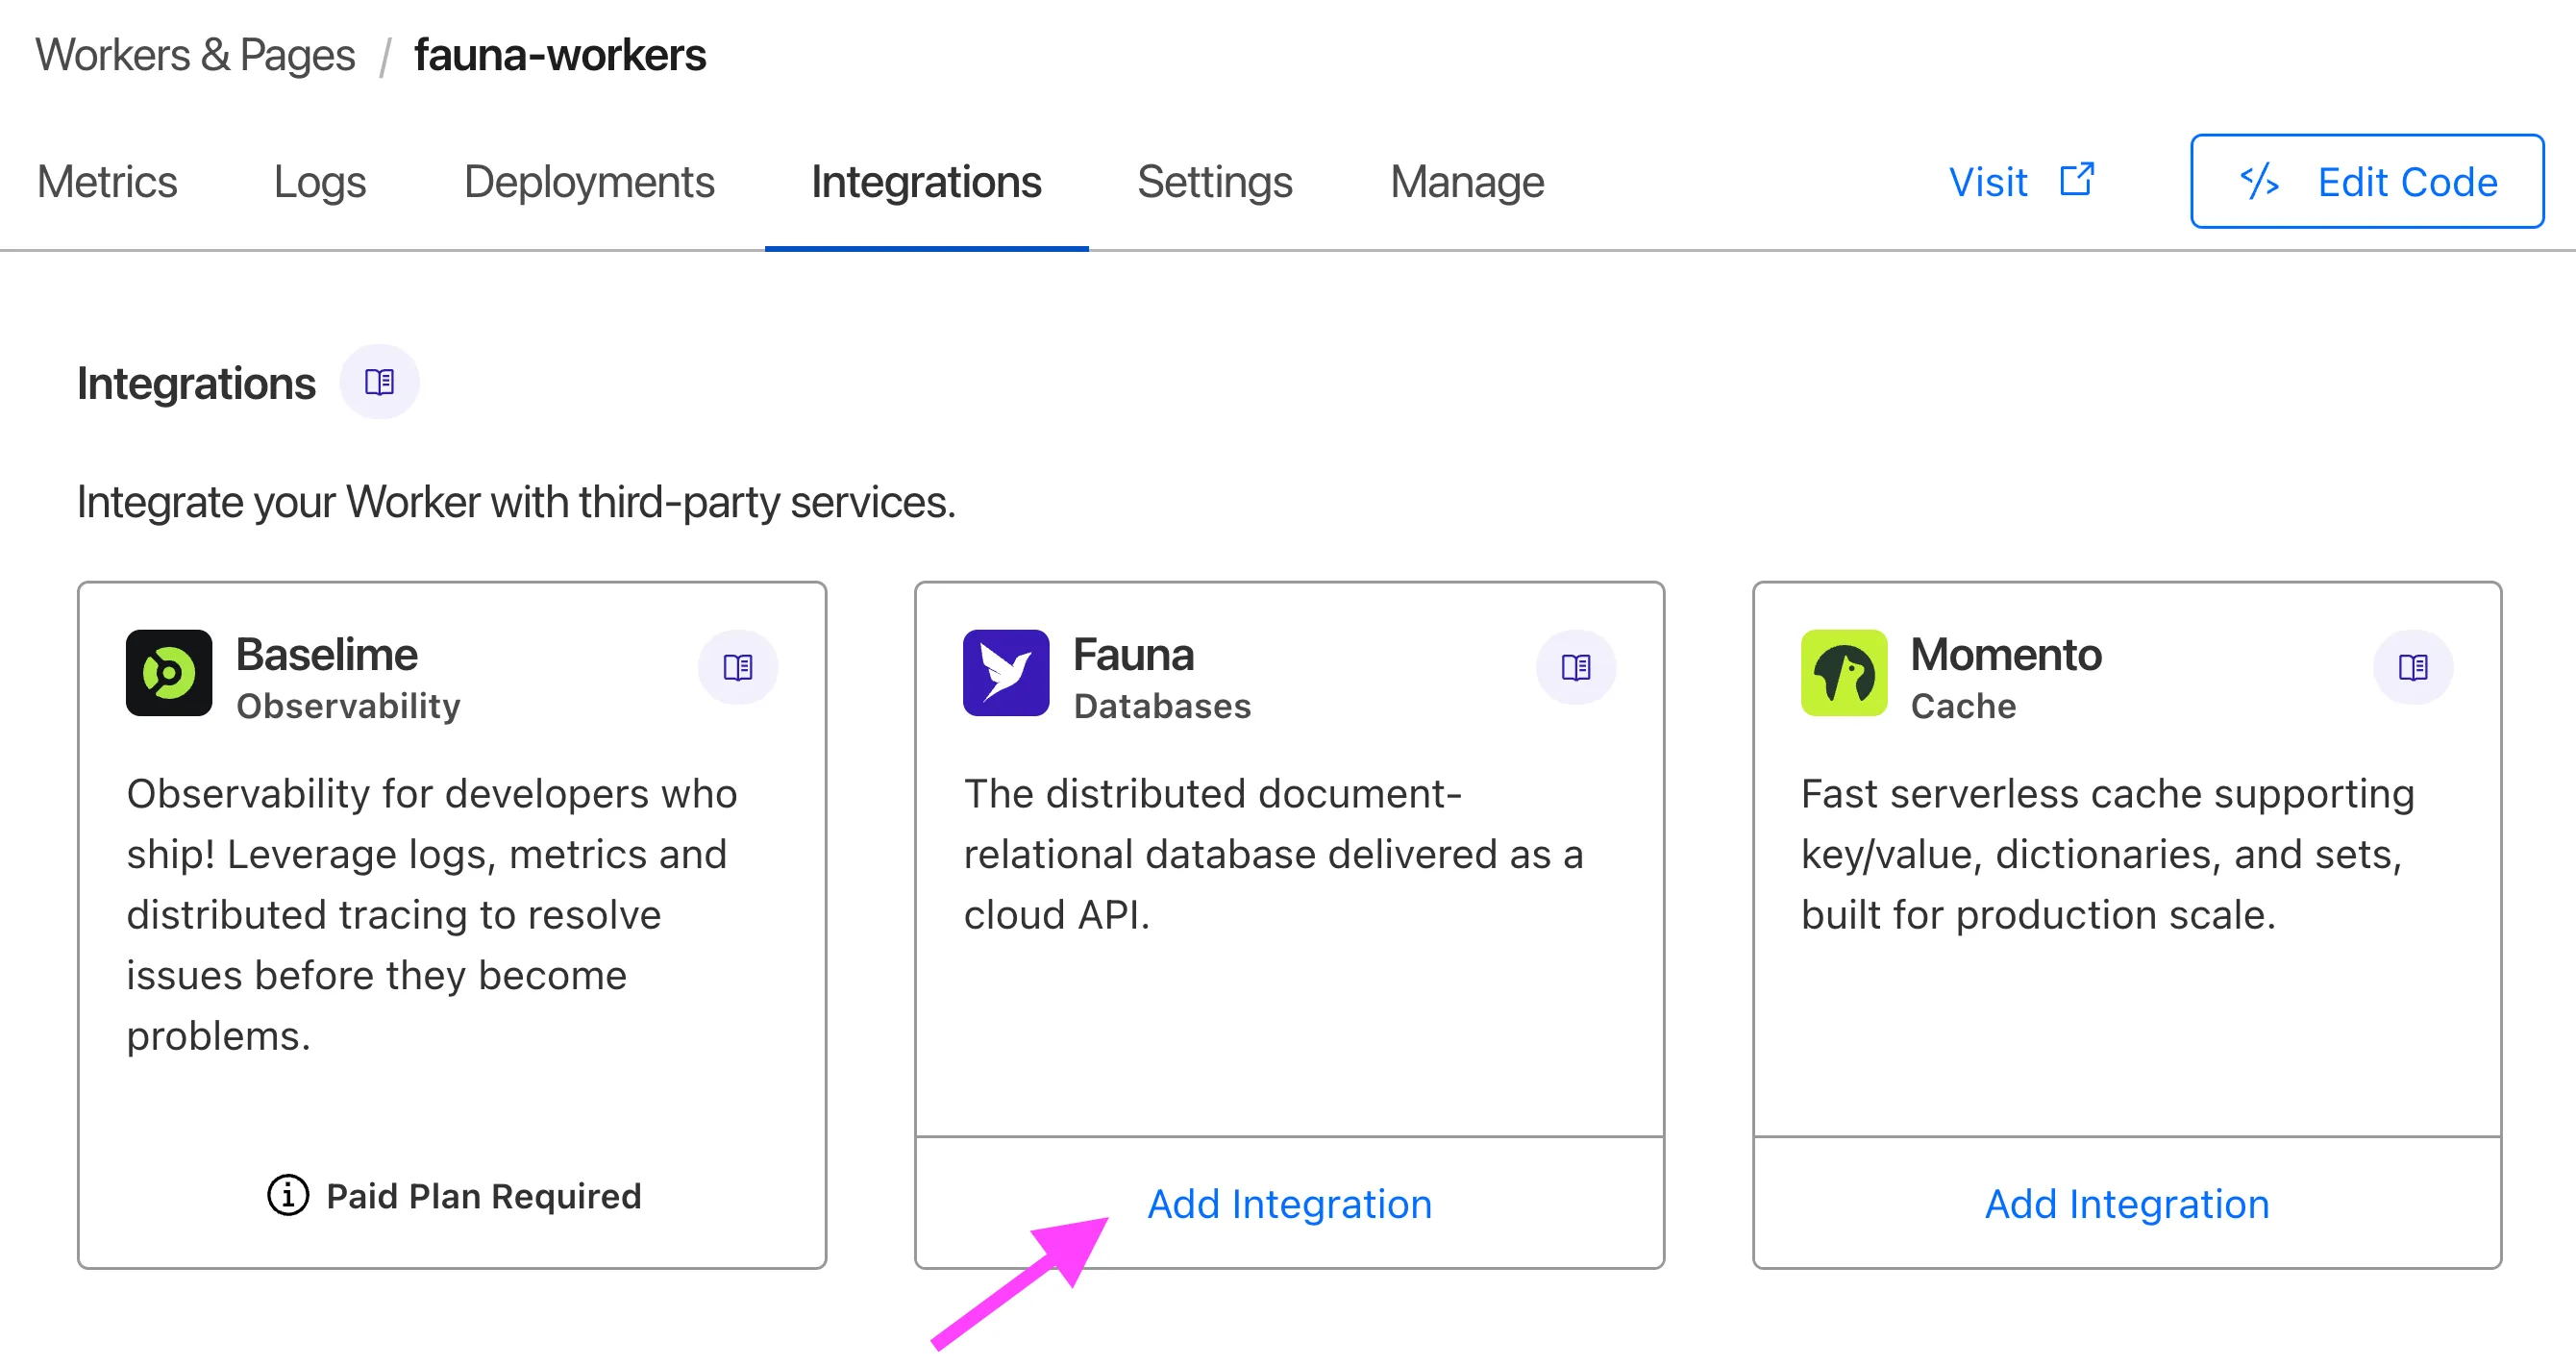
Select the Integrations tab and click on the Fauna integration.
-
Login to your Fauna account.
-
Select the Fauna database you created earlier.
-
Select
serverrole as your database role. -
Enter
DATABASE_KEYas the Secret Name. -
Select Finish.
-
Navigate to Settings tab and select Variables. Notice that a new variable
DATABASE_KEYis added to your Worker.
The integration creates a new Fauna authentication key and stores the key’s secret in the Worker’s DATABASE_KEY secret. The deployed Worker uses this key.
Install the Fauna JavaScript driver ↗ in your newly created Worker project.
npm install faunayarn add faunaReplace the contents of your src/index.ts file with the skeleton of your API:
import { Hono } from "hono";import { Client, fql, ServiceError } from "fauna";
type Bindings = {  DATABASE_KEY: string;};
type Variables = {  faunaClient: Client;};
type Product = {  id: string;  serialNumber: number;  title: string;  weightLbs: number;  quantity: number;};
const app = new Hono<{ Bindings: Bindings; Variables: Variables }>();
app.use("*", async (c, next) => {  const faunaClient = new Client({    secret: c.env.DATABASE_KEY,  });  c.set("faunaClient", faunaClient);  await next();});
app.get("/", (c) => {  return c.text("Hello World");});
export default app;
This is custom middleware to initialize the Fauna client and set the instance with c.set() for later use in another handler:
app.use("*", async (c, next) => { const faunaClient = new Client({ secret: c.env.DATABASE_KEY, }); c.set("faunaClient", faunaClient); await next();});You can access the DATABASE_KEY environment variable from c.env.DATABASE_KEY. Workers run on a custom JavaScript runtime instead of Node.js, so you cannot use process.env to access your environment variables.
Add your first Hono handler to the src/index.ts file. This route accepts POST requests to the /products endpoint:
app.post("/products", async (c) => { const { serialNumber, title, weightLbs } = await c.req.json<Omit<Product, "id">>(); const query = fql`Products.create({ serialNumber: ${serialNumber}, title: ${title}, weightLbs: ${weightLbs}, quantity: 0 })`; const result = await c.var.faunaClient.query<Product>(query); return c.json(result.data);});This route applied an FQL query in the fql function that creates a new document in the Products collection:
fql`Products.create({ serialNumber: ${serialNumber}, title: ${title}, weightLbs: ${weightLbs}, quantity: 0})`;To review what a document looks like, run the following query. In the Fauna dashboard, go to Explorer > Region name > Database name like a cloudflare_rest_api > the SHELL window:
Products.create({ serialNumber: "A48432348", title: "Gaming Console", weightLbs: 5, quantity: 0,});Fauna returns the created document:
{ id: "<document_id>", coll: Products, ts: "<timestamp>", serialNumber: "A48432348", title: "Gaming Console", weightLbs: 5, quantity: 0}Examining the route you create, when the query is successful, the data newly created document is returned in the response body:
return c.json({ productId: result.data,});If Fauna returns any error, an exception is raised by the client. You can catch this exception in app.onError(), then retrieve and respond with the result from the instance of ServiceError.
app.onError((e, c) => { if (e instanceof ServiceError) { return c.json( { status: e.httpStatus, code: e.code, message: e.message, }, e.httpStatus, ); } console.trace(e); return c.text("Internal Server Error", 500);});Next, create a route that reads a single document from the Products collection.
Add the following handler to your src/index.ts file. This route accepts GET requests at the /products/:productId endpoint:
app.get("/products/:productId", async (c) => { const productId = c.req.param("productId"); const query = fql`Products.byId(${productId})`; const result = await c.var.faunaClient.query<Product>(query); return c.json(result.data);});The FQL query uses the byId() ↗ method to retrieve a full document from the Productions collection:
fql`Products.byId(productId)`;If the document exists, return it in the response body:
return c.json(result.data);If not, an error is returned.
The logic to delete product documents is similar to the logic for retrieving products. Add the following route to your src/index.ts file:
app.delete("/products/:productId", async (c) => { const productId = c.req.param("productId"); const query = fql`Products.byId(${productId})!.delete()`; const result = await c.var.faunaClient.query<Product>(query); return c.json(result.data);});The only difference from the previous route is that you use the delete() ↗ method, combined with the byId() method, to delete a document.
When the delete operation is successful, Fauna returns the deleted document and the route forwards the deleted document in the response’s body. If not, an error is returned.
Before deploying your Worker, test it locally by using Wrangler’s dev command:
npm run devyarn devOnce the development server is up and running, start making HTTP requests to your Worker.
First, create a new product:
curl \ --data '{"serialNumber": "H56N33834", "title": "Bluetooth Headphones", "weightLbs": 0.5}' \ --header 'Content-Type: application/json' \ --request POST \ http://127.0.0.1:8787/productsYou should receive a 200 response similar to the following:
{ "productId": "<document_id>"}Next, read the document you created:
curl \ --header 'Content-Type: application/json' \ --request GET \ http://127.0.0.1:8787/products/<document_id>The response should be the new document serialized to JSON:
{ "coll": { "name": "Products" }, "id": "<document_id>", "ts": { "isoString": "<timestamp>" }, "serialNumber": "H56N33834", "title": "Bluetooth Headphones", "weightLbs": 0.5, "quantity": 0}Finally, deploy your Worker using the wrangler deploy command:
npm run deployyarn deployThis publishes the Worker to your *.workers.dev subdomain.
As the last step, implement a route to update the quantity of a product in your inventory, which is 0 by default.
This will present a problem. To calculate the total quantity of a product, you first need to determine how many items there currently are in your inventory. If you solve this in two queries, first reading the quantity and then updating it, the original data might change.
Add the following route to your src/index.ts file. This route responds to HTTP PATCH requests on the /products/:productId/add-quantity URL endpoint:
app.patch("/products/:productId/add-quantity", async (c) => { const productId = c.req.param("productId"); const { quantity } = await c.req.json<Pick<Product, "quantity">>(); const query = fql`Products.byId(${productId}){ quantity : .quantity + ${quantity}}`; const result = await c.var.faunaClient.query<Pick<Product, "quantity">>(query); return c.json(result.data);});Examine the FQL query in more detail:
fql`Products.byId(${productId}){ quantity : .quantity + ${quantity}}`;Test your update route:
curl \ --data '{"quantity": 5}' \ --header 'Content-Type: application/json' \ --request PATCH \ http://127.0.0.1:8787/products/<document_id>/add-quantityThe response should be the entire updated document with five additional items in the quantity:
{ "quantity": 5}Update your Worker by deploying it to Cloudflare.
npm run deployyarn deploy